
Project Overview
Printing “Hello, world!” is usually the first thing that programming tutorials will have you do in a new language. This guide starts by blinking an LED, but now we’re going to print out real text using an "organic light-emitting diode" (OLED) display.
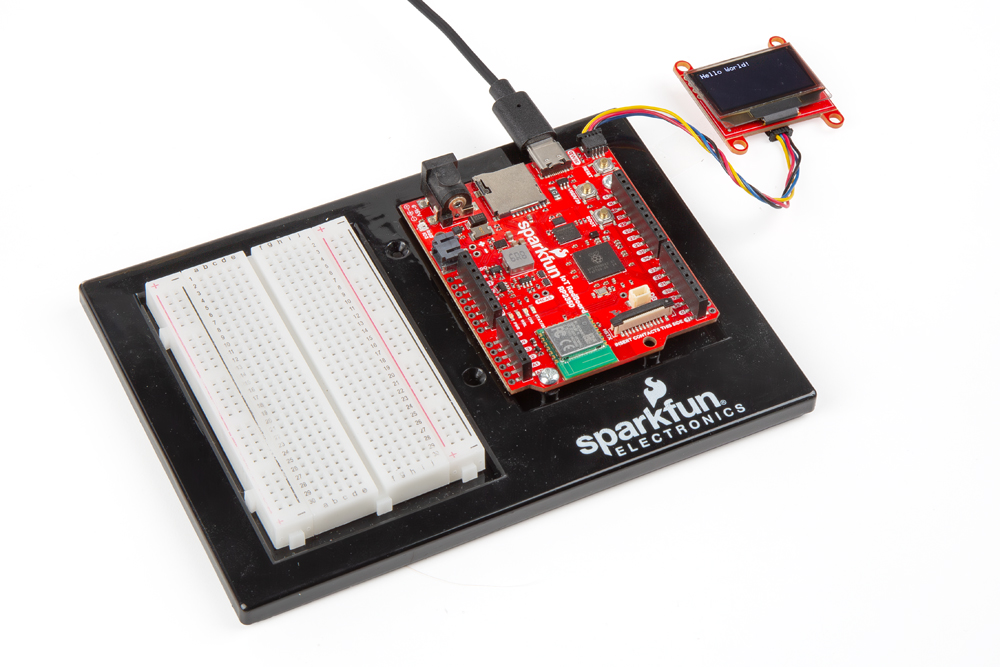
Project 4 - Circuit A

New Components
Organic Light-Emitting Diode (OLED) Screens
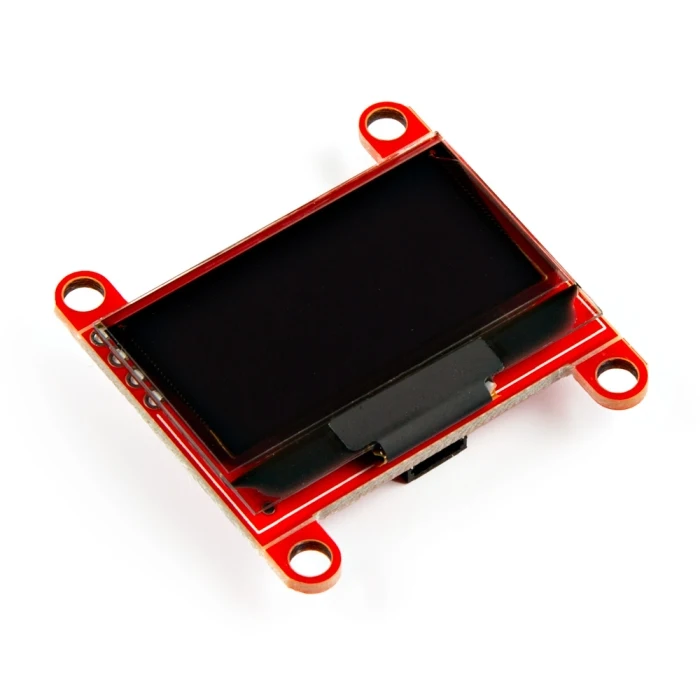
An OLED Display is a component that allows us to visualize information from our program in the real world. It contains a layer that emits light in response to an electric current. The SparkFun 1.3” OLED display provided in the SIK is a “monochrome” OLED meaning that it can only show two colors: white and black. Each pixel of the display can be set individually to white or black allowing us to display anything from text to lines to shapes!
Qwiic Cable
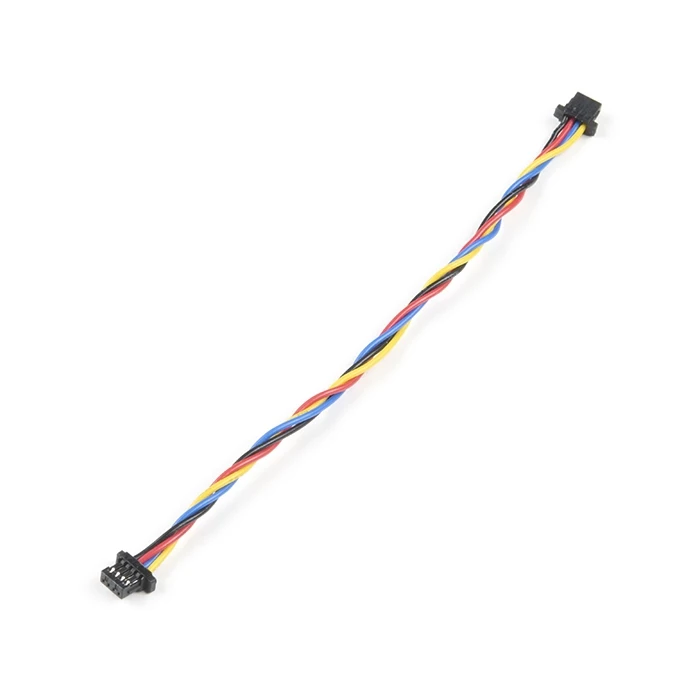
Do you want a break from sticking jumper wires into your breadboard? Then this project is for you. SparkFun’s Qwiic Connect System saves you the trouble of manually running jumpers between your RedBoard and your other components. Qwiic cables combine 4 jumpers into a single cable with a handy “clicking” connector at the end. SparkFun builds this connector into many of their sensors so that they can be used out-of-the-box without any breadboard set up needed.
New Concepts
I2C Communication
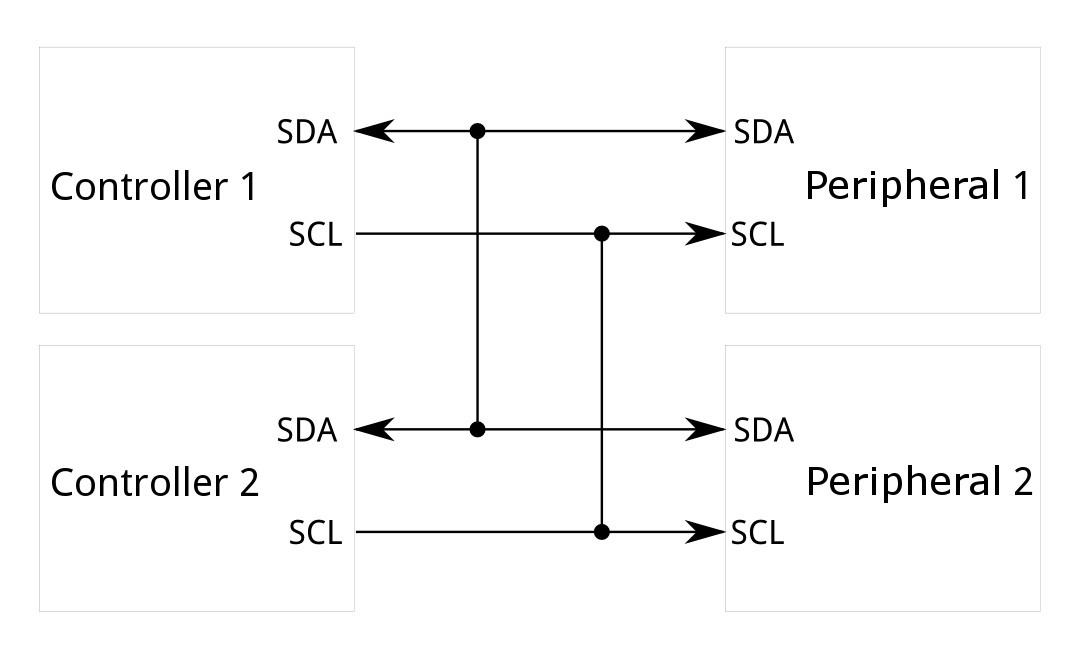
The 4 jumper wires that are combined in a qwiic cable are power, ground, and the 2 necessary signals (SDA and SCL) that make up the I2C Communication protocol. In electronics, a communication protocol is just a way that devices can talk to each other by sending ones and zeros to each other. They do this by setting signals high (1) and low (0) just like we’ve been doing in all of our projects. By setting the signals high and low very quickly and in a known kind of pattern, the devices can talk to each other! You can think of it kind of like Morse Code where entire words can be sent between people by just sending a series of dots and dashes. I2C is a very common communication protocol where one device puts ones and zeros on two different wires to talk to another device (or multiple devices). Many SparkFun devices speak in this “language” and that is why the Qwiic Connector was created to easily connect together devices that communicate with I2C.
Qwiic Driver Modules
Since so many components of SparkFun hardware use the Qwiic Connect system and I2C to communicate, there are also many MicroPython software modules that have been developed. These modules eliminate the need to know the ins and outs of the complicated I2C protocol and to deeply study the datasheet of each new device. They provide us functions we can use directly to talk to I2C devices. We will be using one of these, the qwiic_oled_py module in order to talk to our OLED. The RedBoard RP2350 ships with these drivers already installed, so you can directly import them in your code.
Ready to start hooking everything up? Check out the Hardware Hookup section below to see how everything is connected.
Hookup Guide
Tired of plugging little wires into your breadboard? Take a deep breath, this circuit has no breadboard or hookup table! Just plug one end of the Qwiic cable into the Qwiic connector of your OLED and the other end of the Qwiic cable into the OLED like pictured below. Just like that you’re ready to use the OLED.
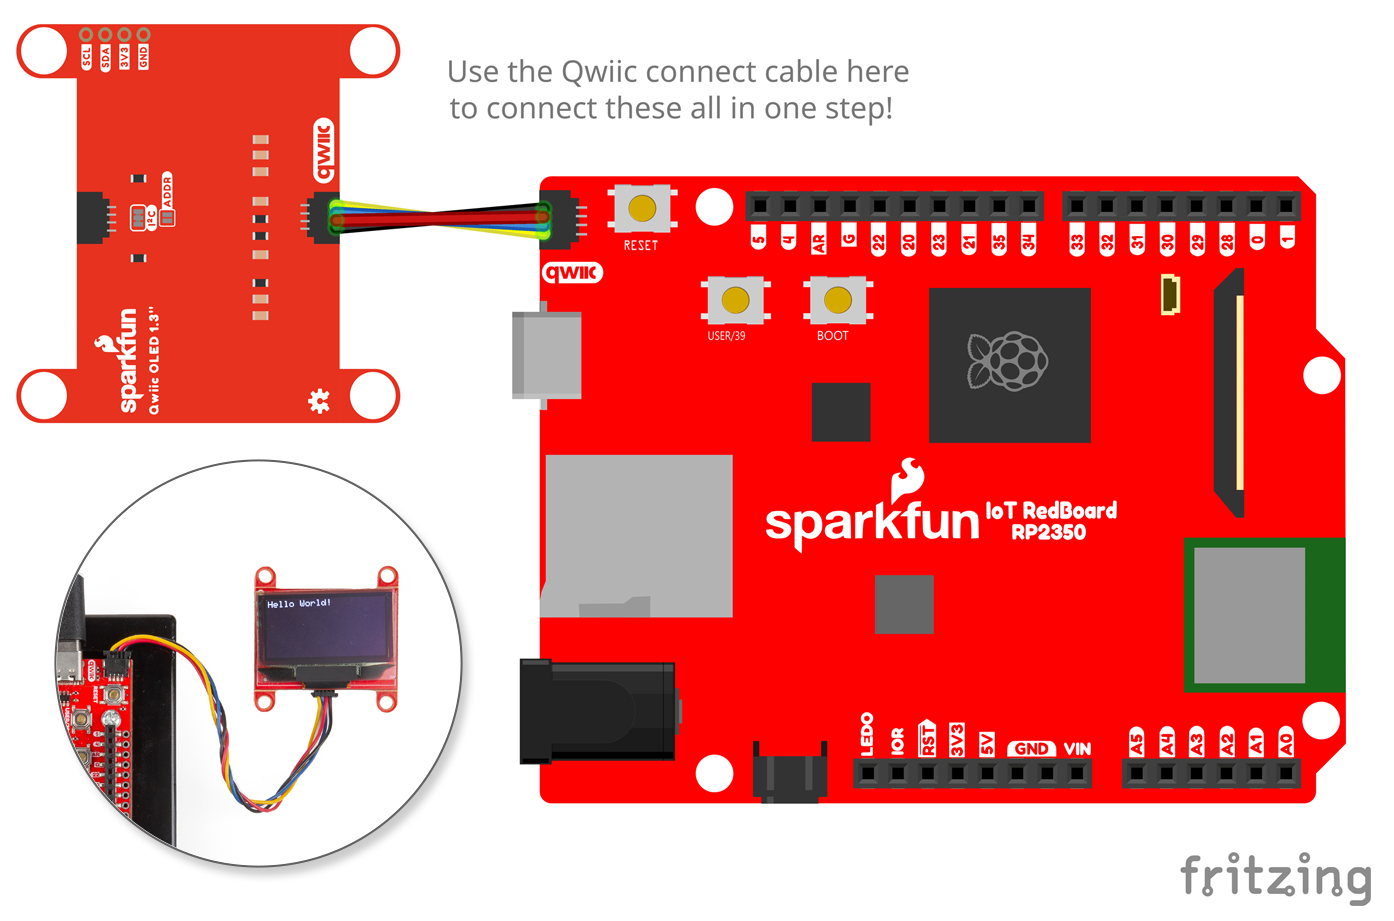
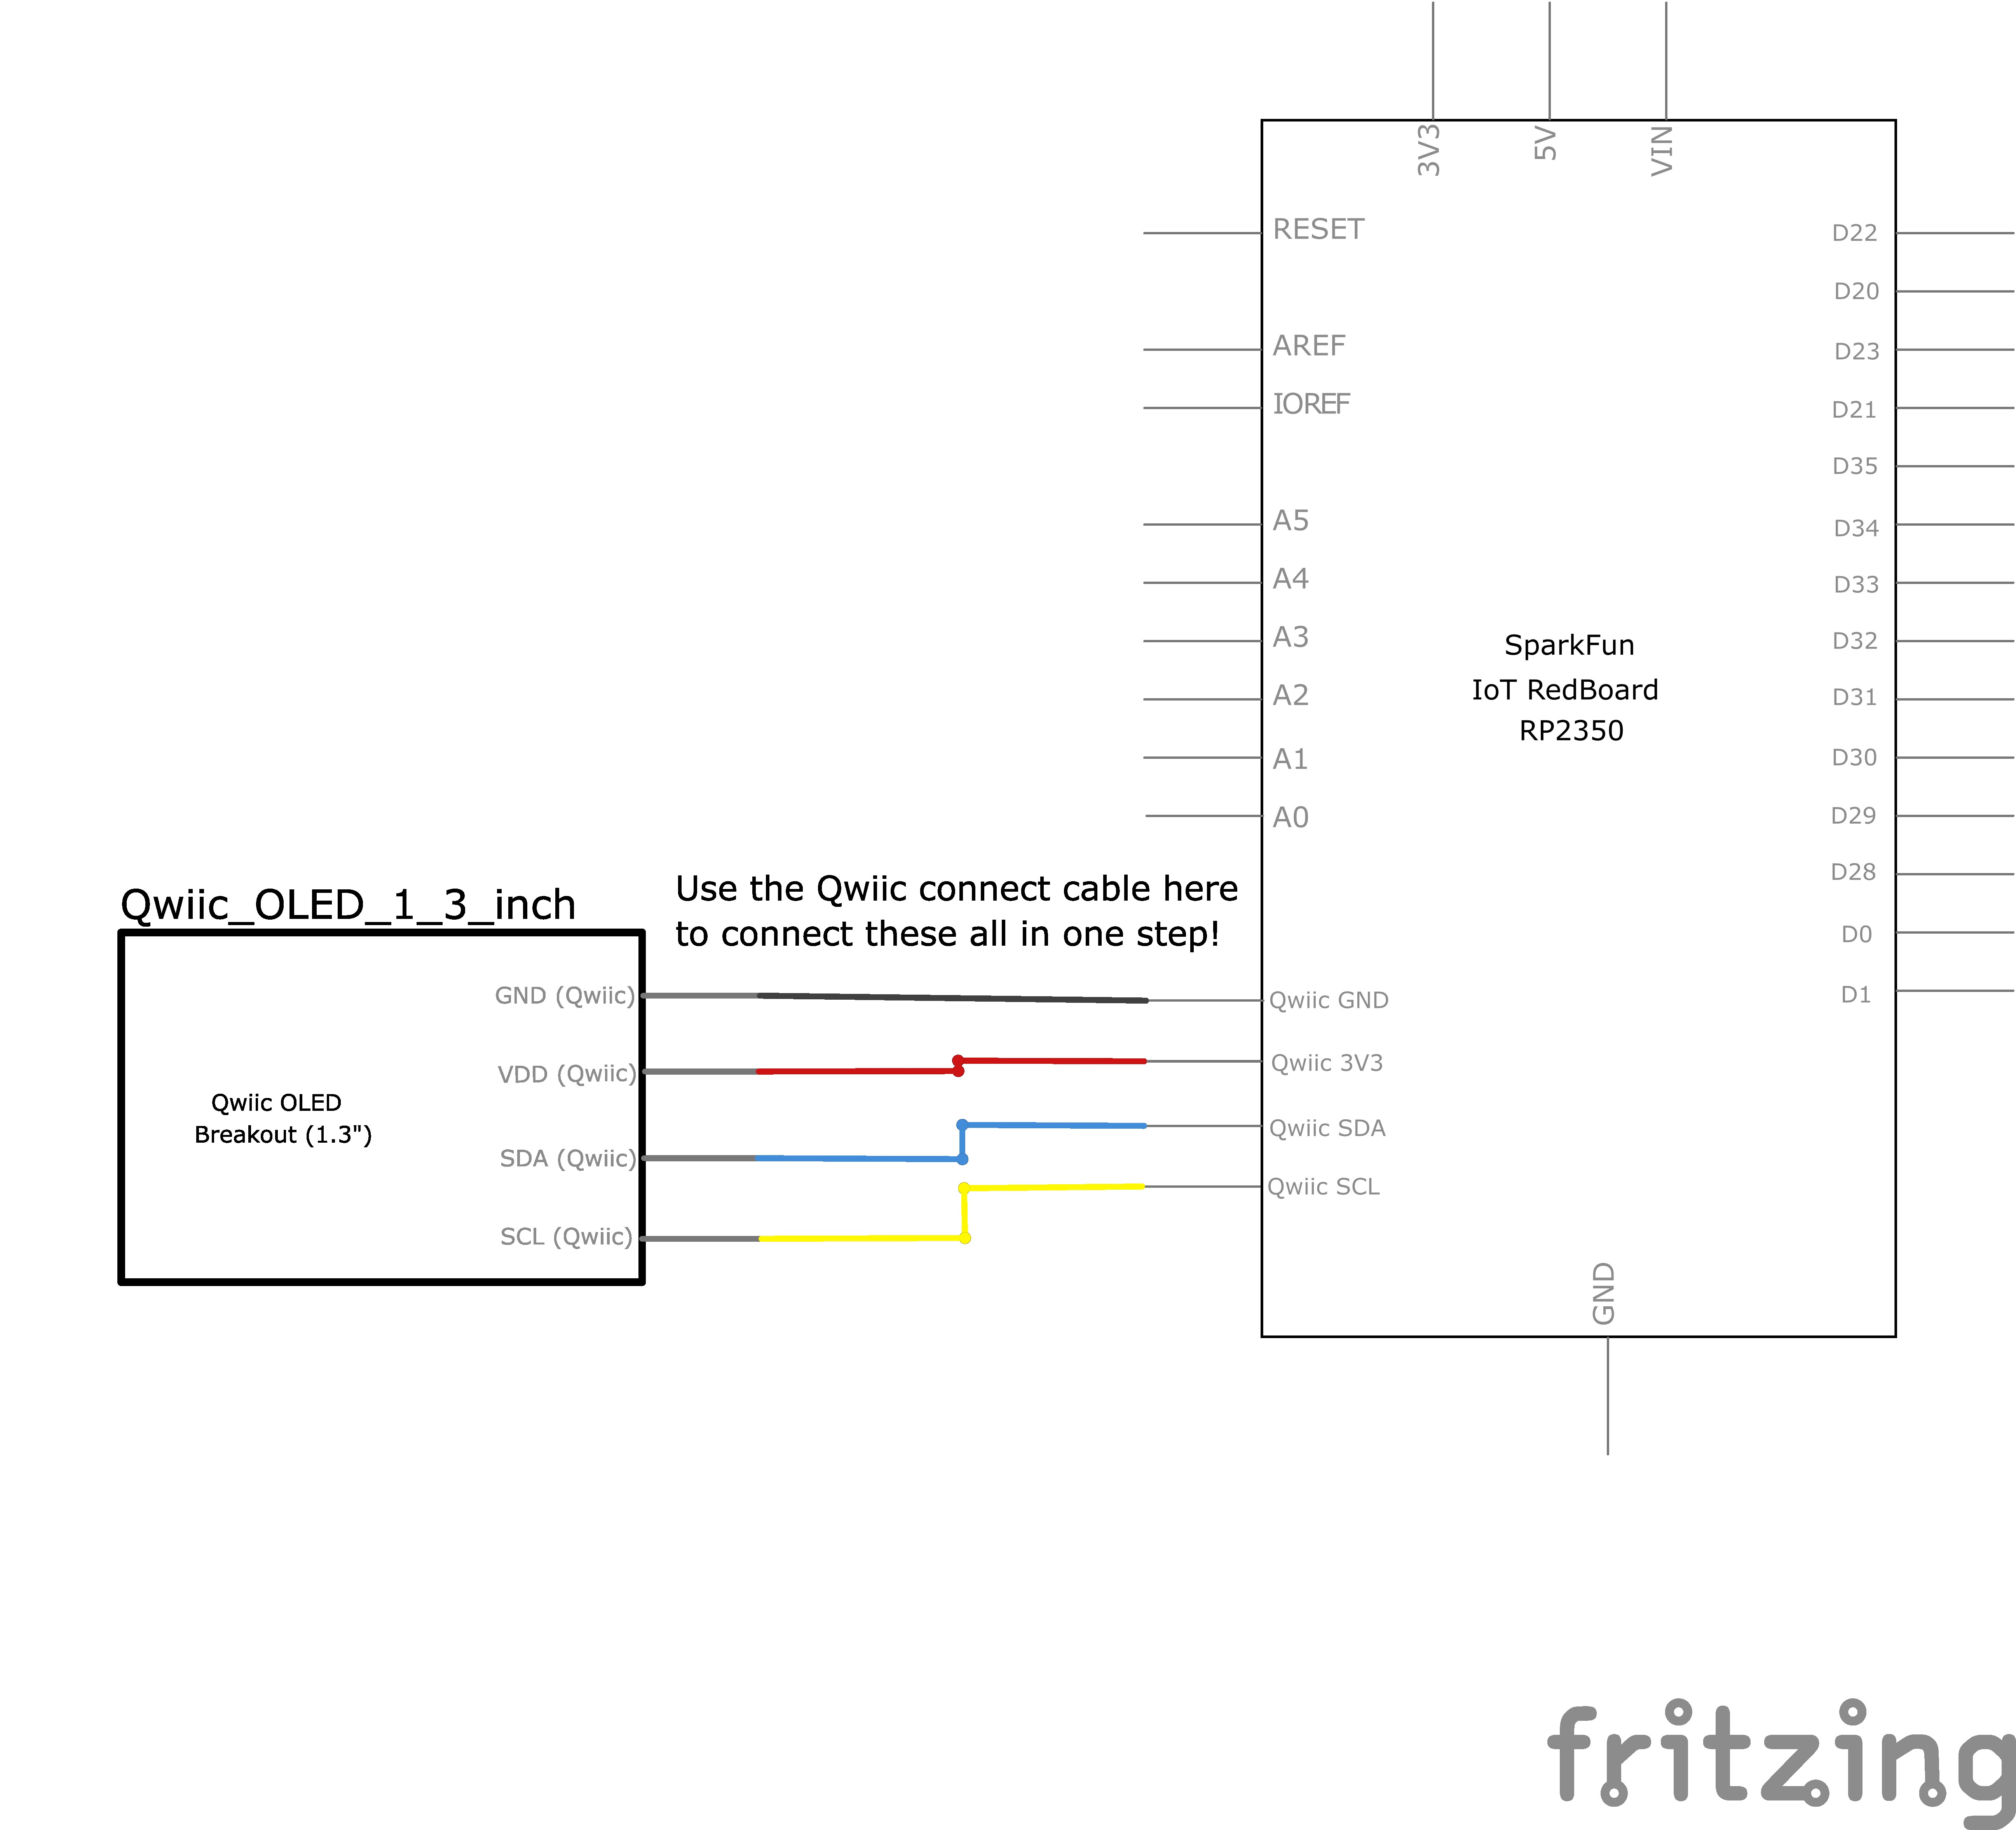
Note for Advanced Users: If you know how to read datasheets and schematics, you can also refer to the schematic below as an alternative.
Programming the RedBoard
The SparkFun RedBoard IoT is programmed using MicroPython and this project uses MicroPython commands to control the circuit. Before this is possible, a MicroPython tool is needed to communicate with the RedBoard.
Selecting a MicroPython Tool
Our suggested tool is the Thonny IDE. For instructions on how to install and use Thonny, check out our Thonny Guide.
The first step to enter commands on the RedBoard is to select a tool that allows direct interaction with MicroPython.
While a variety of methods exist to communicate with the RedBoard, the following tools are the most popular: Thonny, PyCharm and the command mpremote.
Once you select and install a tool, make sure your RedBoard is connected to your computer, and the micropython tool is connected to the RedBoard. Once connected, you should have access to the MicroPython REPL command line.
Remember that the source files for each SIK circuit are already on your IoT RedBoard RP2350 in the “sik_examples” folder. So if using the suggested Thonny tool, you can select the example for this circuit and run it directly with the green “run current script” button rather than executing lines individually.
Entering MicroPython Commands
Step 1 - Setup
Lets start by importing any of the libaries we plan on using and setting up our pins.
# The qwiic_oled driver module allows for control of SparkFun OLEDs.
# The QwiicLargeOled class is for the Large 1.3" OLED display in our SIK
from qwiic_oled import QwiicLargeOled

# Define the OLED object that we will use
# Note how we don't have to provide the pins, the driver automatically selects the pins for the qwiic connector
myOLED = QwiicLargeOled()
Step 2 - Displaying To the OLED
Now let’s write “Hello World!” out to the OLED! We will use the begin(), clear(), print() and display() functions from the qwiic_oled module. For a full list of the functions that this module provides, check out the driver documentation.
myOLED.begin() # Initialize the OLED

# Clear the OLED
myOLED.clear(myOLED.ALL) # Clear OLED graphic memory.
myOLED.clear(myOLED.PAGE) # Clear the processor's display buffer.

myOLED.print("Hello World!") # Print a message to the OLED
myOLED.display() # Display the message on the OLED (this function must be called to actually show the text)
What You Should See
When you run the cell above, you should see the text “Hello World!” show up on the OLED display.
Coding Challenges
| Challenge | Description |
|---|---|
| Change the message | Try changing the code to display another message. |
| Show hours, minutes and seconds | Try adding some code so that the display shows the hours, minutes and seconds that have passed since the RedBoard was last reset. |
| Count button presses | By adding a button to the circuit, you can count the number of times the button was pressed or have the button change what the OLED is displaying. There could be many pages of information that you cycle between with button presses. |
Troubleshooting
| Problem | Solution |
|---|---|
| Not working at all | Double check the circuit's wiring. There are a lot of wires in this circuit, and it's easy to mix up one or two. |
| Still not working? | Jumper wires unfortunately can go "bad" from getting bent too much. The copper wire inside can break, leaving an open connection in your circuit. If you are certain that your circuit is wired correctly and that your code is error-free and uploaded but you are still encountering issues, try replacing one or more of the jumper wires for the component that is not working. |
You’ve Completed Circuit 4A!
Continue to circuit 4B to build your very own digital temperature sensor.