SparkFun Inventor's Kit
Get Started with Thonny IDE
Getting Started Thonny
Getting Started With The MicroPython SIK (With Thonny IDE)
What Is Python?
Python is a dynamic programming language with very simple syntax that makes it fast and easy to develop with. Despite being simple and readable, Python is one of the most powerful and widely used languages in modern development especially in cutting edge areas like machine learning and data science.
What is MicroPython?
MicroPython is a subset of standard Python that is specialized for embedded development (writing code that runs on cool electronics and hardware). It maintains the ease of use and power of Python while also handling most of the complicated hardware details for you. This allows you to spend more time learning, designing, and coding and less time fussing with small coding errors.
Don't know Python/MicroPython yet? No problem! The MicroPython SparkFun Inventors Kit is designed to take you "from zero to hero" and requires no prior experience in programming or circuit design.
Over the course of the SIK's 5 projects composed of 16 total circuits, you will get an introduction to all of the programming concepts below:
- importing modules
- using variables and objects
- writing
forloops andwhileloops - writing functions
- writing algorithms
- setting digital pins high and low
- reading analog inputs
- sleeps/delays
- using PWM and Duty Cycle
- I2C communication
- and more!
What is Thonny?
Thonny is an Integrated Development Environment or IDE that allows you to connect to and write code for devices running Python or MicroPython. Think about how you can use Microsoft Word or LibreOffice to write and edit your text based documents. They underline misspellings for you, provide you with toolbars for common word processing tasks, and provide suggested autocompletions. Think of Thonny and other IDEs as similar applications but for writing code! It offers many niceties like a button to run and stop code, a code editor with syntax colorations and error squiggles, and a shell that shows you the output of your code.
Installing Thonny
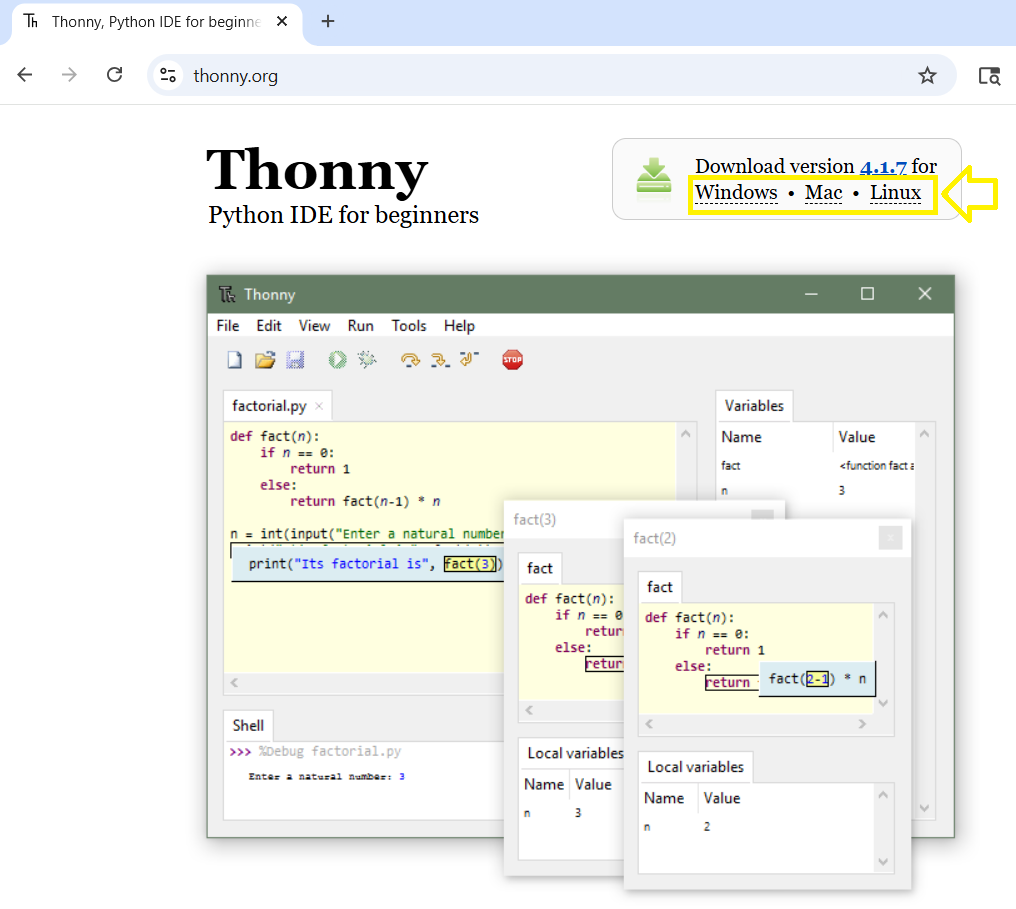
To install Thonny, navigate to https://thonny.org/ and click the download button for your operating system:
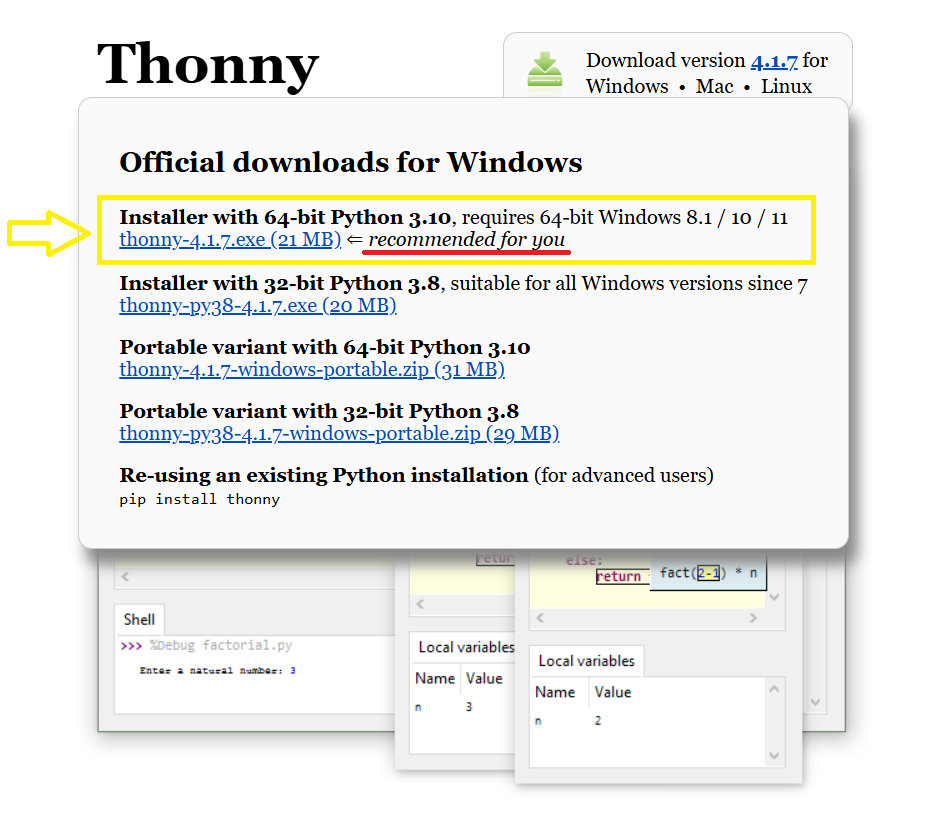
Then, select the "recommended" option from the options that appear:
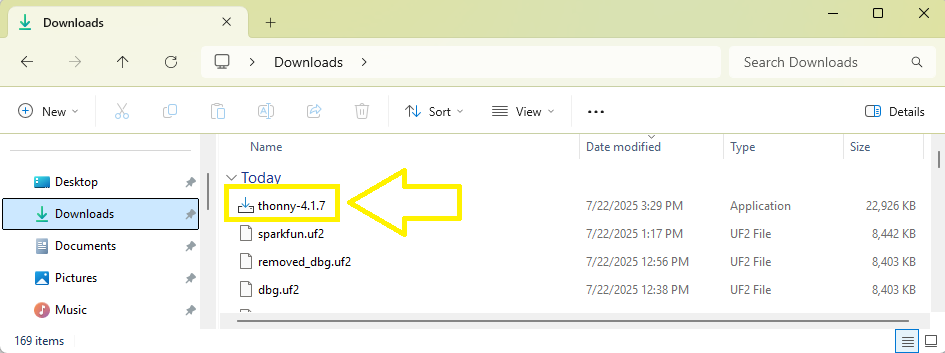
Next, click on the executable file that will appear in your downloads folder:

OR
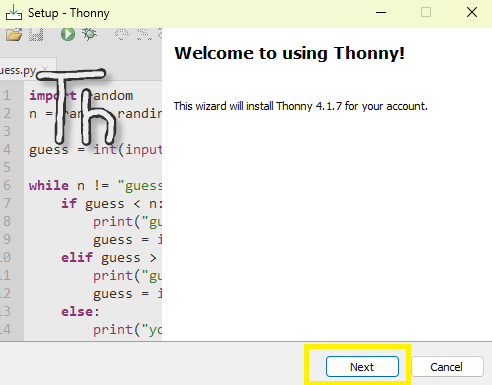
Use the wizard to install Thonny. Click "Next" to begin:
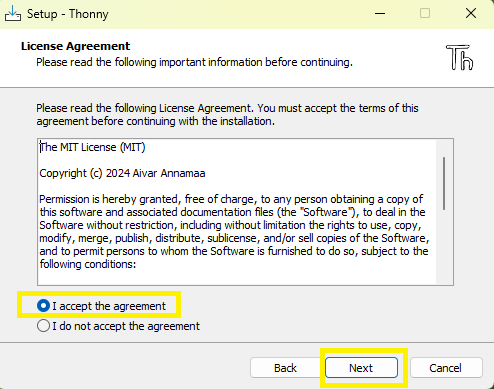
Accept the license agreement and again click "Next":
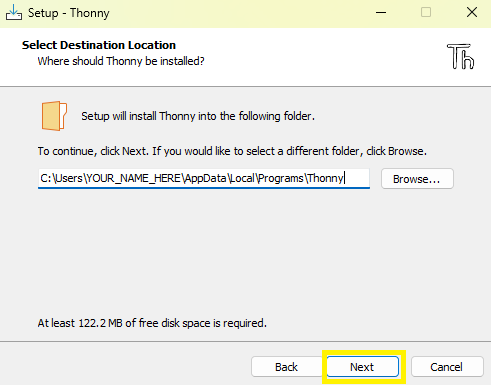
Accept the default Install location and then click "Next":
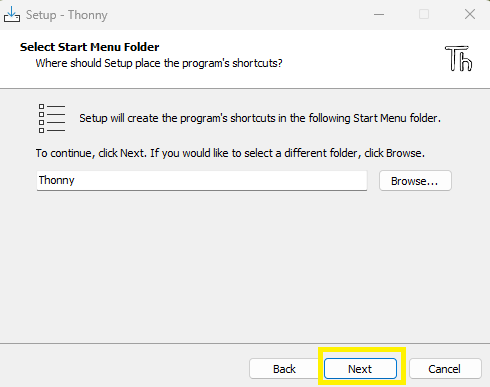
Accept the default Start Menu Folder. At the time of writing this guide, this was called "Thonny":
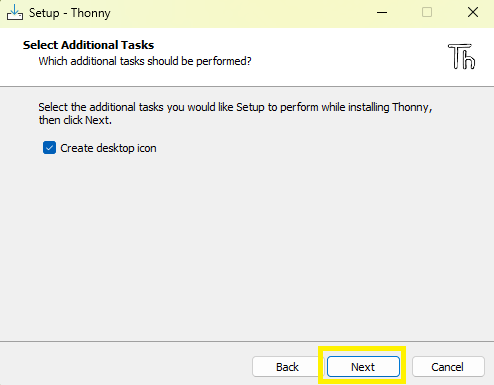
Select "Create desktop icon" so you have an easy graphic to click when you want to open Thonny:
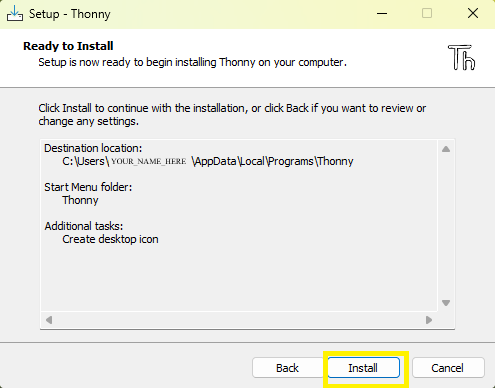
Finally, check your choices and select "Install":
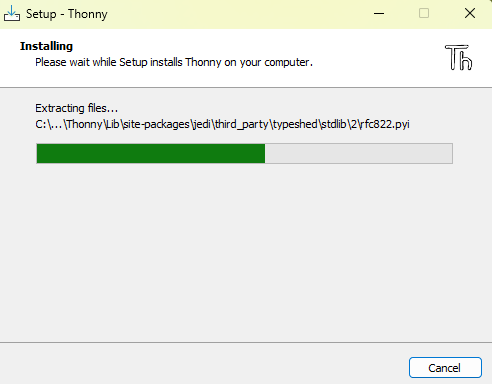
This will begin the install and show you the progress:
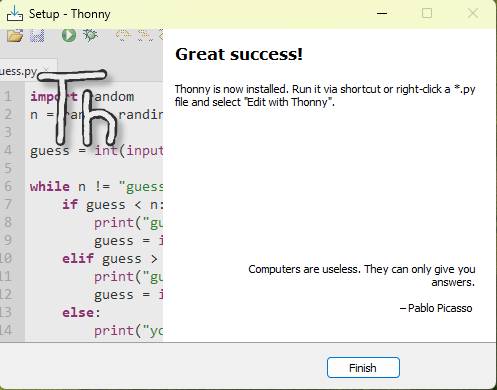
When the install is finished, you should get a message that the installation was successful:
The Key Parts of Thonny
Like most IDEs, Thonny has all kinds of customization and powerful options. However, we only need a small subset of them to get up and running with the SIK, so that's what we'll focus on here.
Board Connection Manager
In the bottom right-hand side of Thonny, you can find the board connection manager. This is where you manage your connection to your IoT RedBoard RP2350.
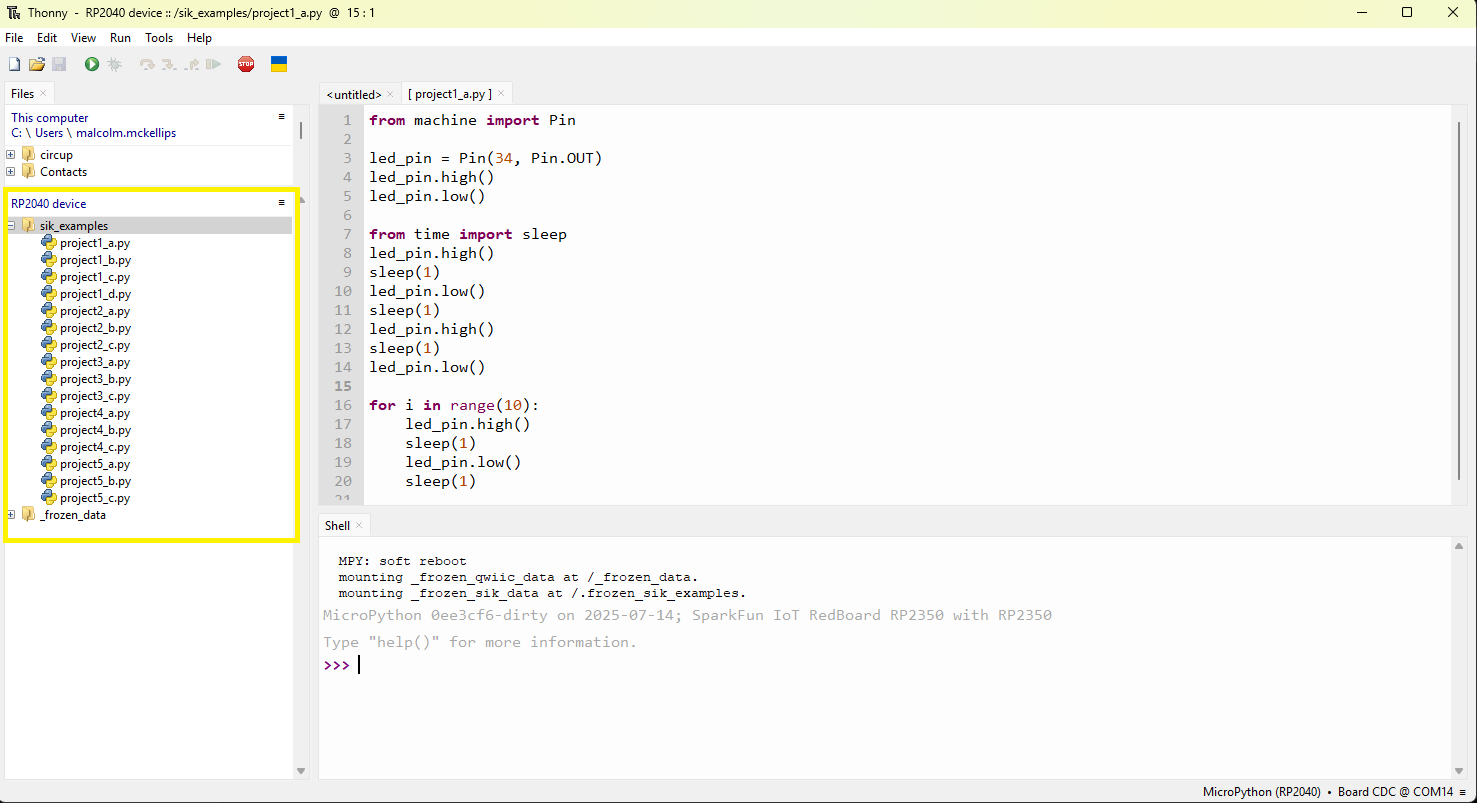
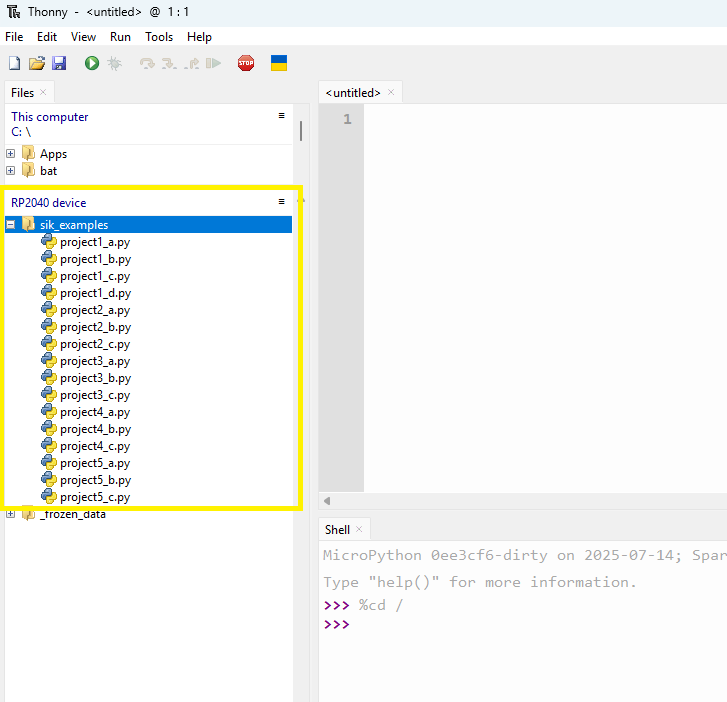
File Explorer
The file explorer is where you can view the files on your board. Note that above the RP2040 device file explorer is a file explorer for your computer itself.
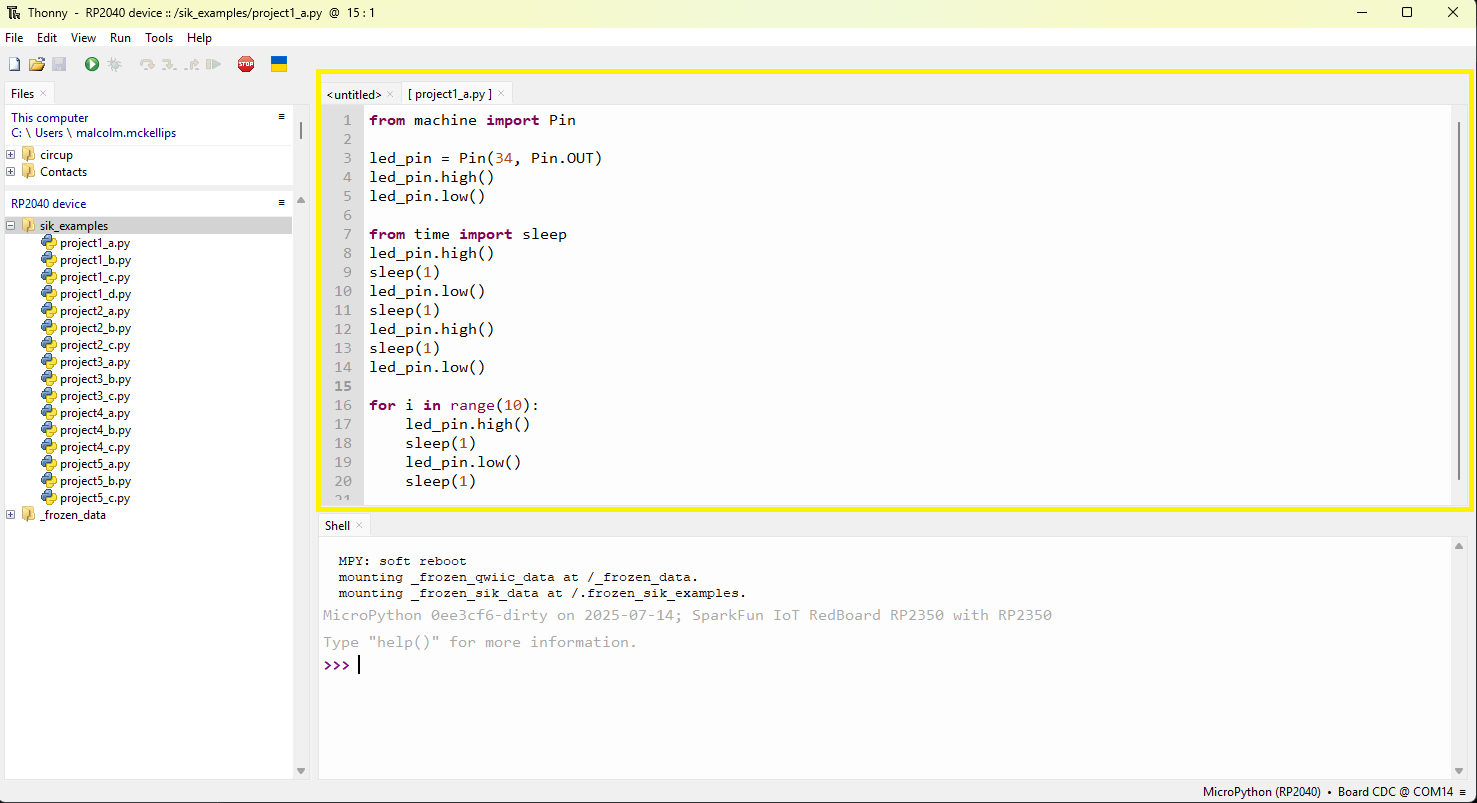
Code Editor
The code editor is where you can write and read code!
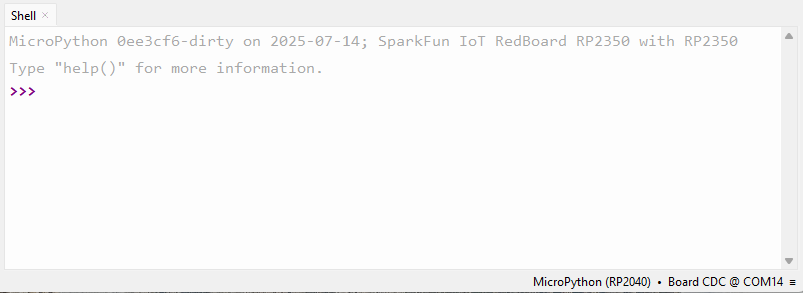
Shell
The shell will show the results of your code once it is run.

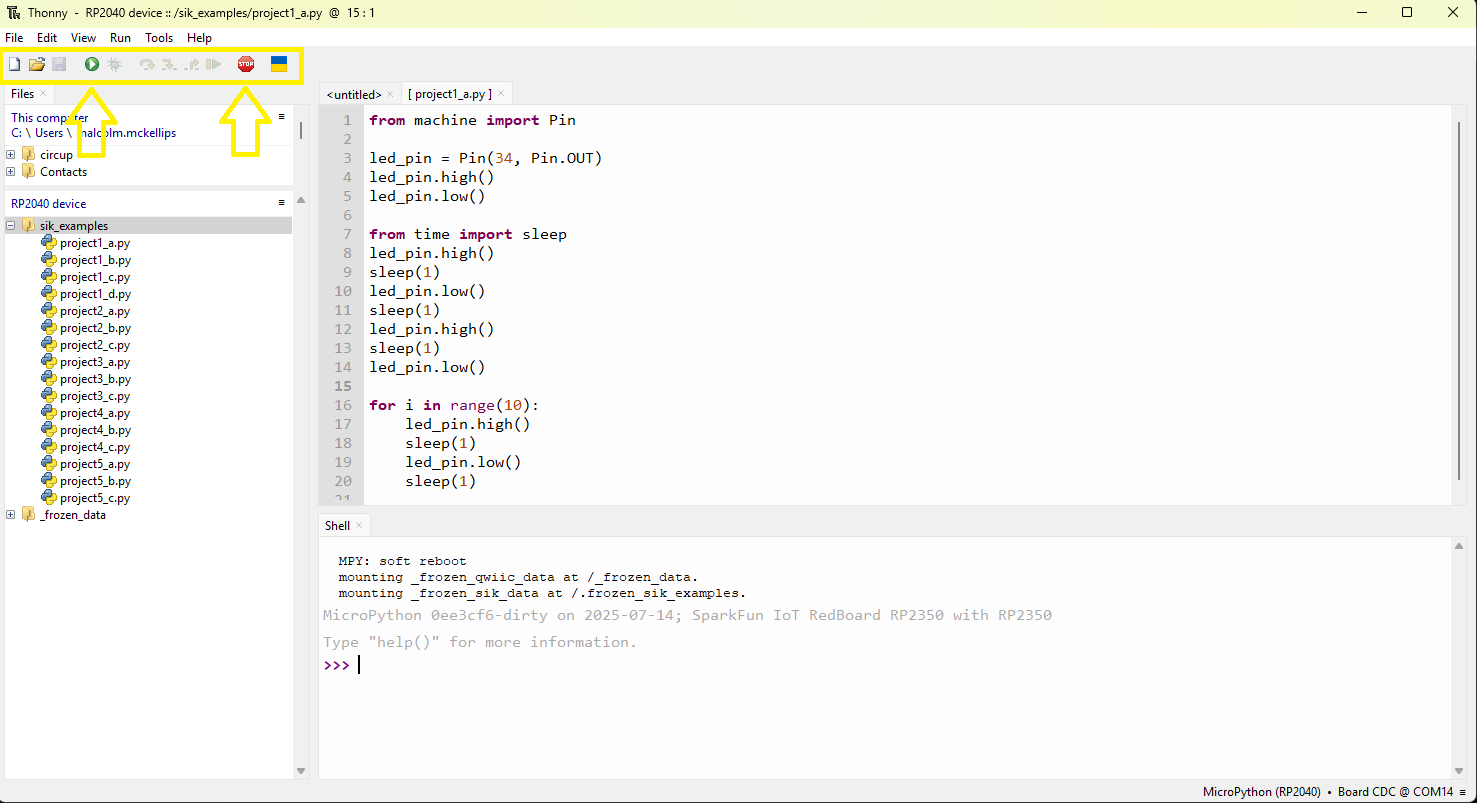
Toolbar With Run/Stop
The Toolbar contains useful icons for interacting with files and our board. The most important are the green "play" (Run Current Script) button and the red "stop sign" (Stop/Restart Backend) button. The green button will run the code for the file you currently have selected in the file explorer and open in the code editor. The red stop button will stop the code and will also perform a reconnect to your board. If things are behaving strangely, it’s always a good idea to start by giving the stop sign a click.
How to Connect to your IoT RedBoard RP2350
To connect to your IoT RedBoard RP2350 from Thonny, first click on the board connection manager:
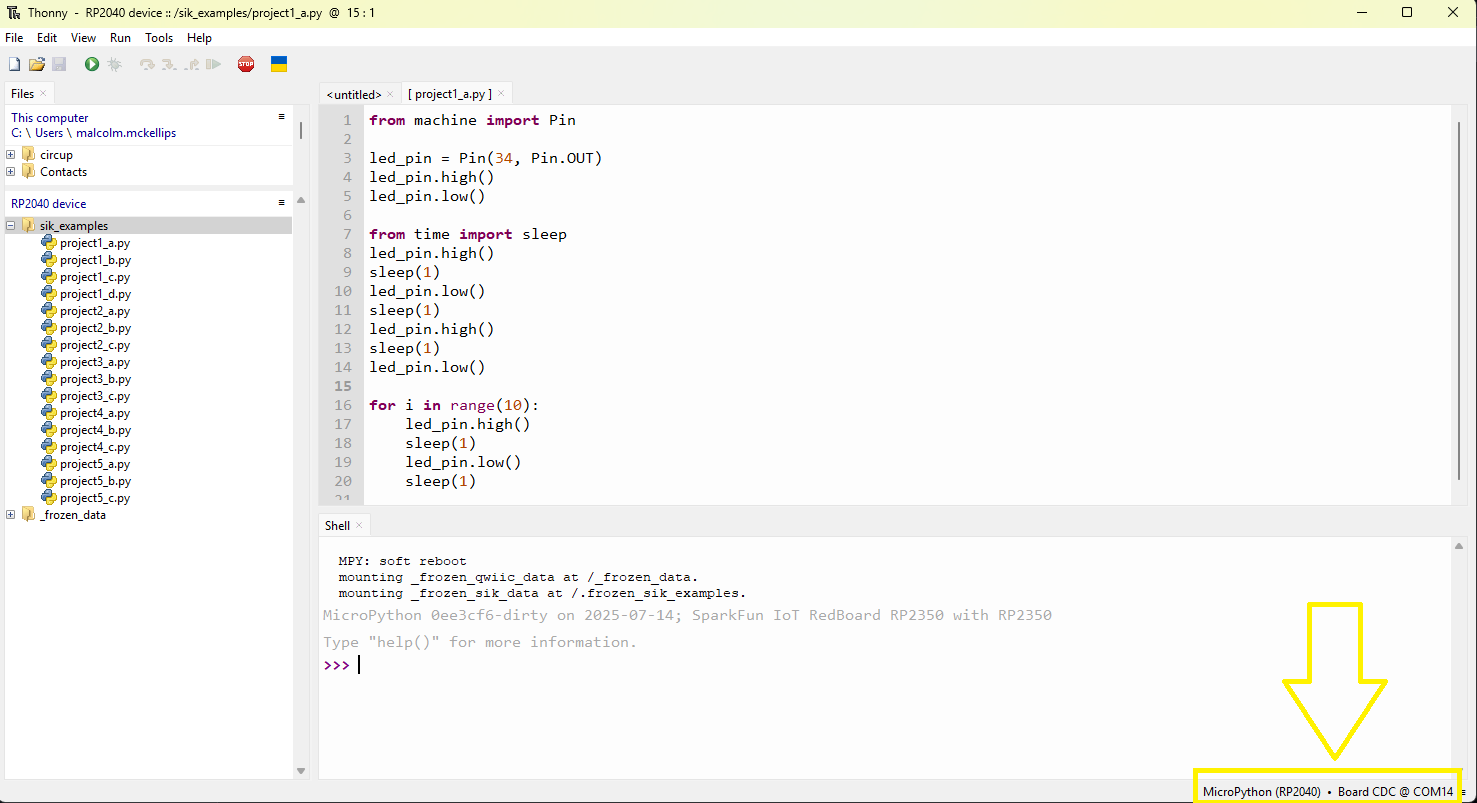
Then, select the "MicroPython" option for your board. You can either select the MicroPython (RP2040) option or the MicroPython (generic) option, both will work.
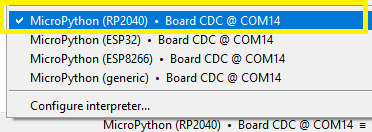
The shell should then show what MicroPython version is on your board along with a >>> symbol. Congratulations, you are connected!
Opening And Running an SIK Example
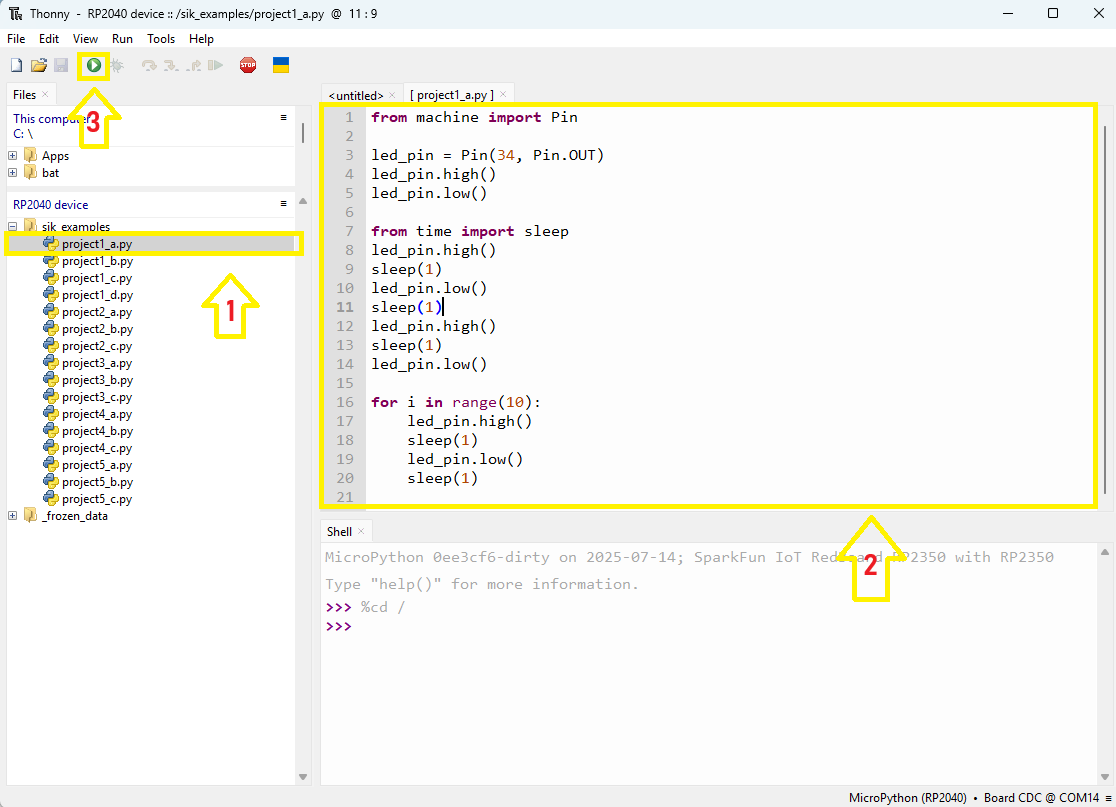
The SIK examples are already on your board in the sik_examples folder in the Thonny file explorer. Once you are connected to your board, you can click the sik_examples folder and view the example code for every circuit in the SIK:
Next, click on the circuit you want to run from within the file explorer and it will appear in the code editor. Finally, you can click on the run button from the toolbar to run the example on your board!
Steps For Working Through an SIK Circuit Project with Thonny
To work through an SIK circuit with Thonny, open the online guide and also open Thonny.
Follow along with the guide until it is time to run and test your code in Thonny.
Each circuit in the SIK has a similar flow and includes the steps listed below:
1) Review Introduction and Materials
In the guide, every circuit will begin with an introduction that helps provide context for what you are about to build. This includes the materials you'll need, a description of any components you're using for the first time, and an overview of the circuit you are going to build. This section will also describe new electronics and software concepts so you can progress through the kit even with no prior experience.
2) Assemble Circuit (Follow Hookup Guide)
Next, you'll create the physical circuit itself! Follow the hookup guide for each circuit to see what needs to get connected where. You should assemble the entire circuit before trying to run any code. It is also best practice to assemble your circuit without power, so unplug your board for this step.
3) Run the Code For Your Circuit in Thonny
Use the instructions above to connect to your board in Thonny. Then, select the correct code example for your circuit and click the run button and watch it go!
4) If Your Circuit Isn't Working Check Out the "Troubleshooting" Section
The troubleshooting section will contain solutions to common problems we've seen for each circuit. They won't contain every solution but are a good place to start. For each circuit it is also a good starting point to double check every connection and make sure your jumper cables are making solid connections with your BreadBoard.
5) If Your Circuit is Working Try the "Coding Challenges" Section
Want to put what you've learned in each circuit to the test? The "Coding Challenges" section will give you a chance to write your own code to take the circuit to the next level.
Next Steps
If you're curious, check out our guide on How to Use a BreadBoard to learn about a key piece of hardware you'll use in almost every circuit in the kit.
Then, check out Project 1 - Circuit A and get ready to use the tips you learned in this guide to build your first circuit and run some code from Thonny!
Or if you're curious about other ways to use your SIK, check out the instructions for using Jupyter Notebooks to run your code as an alternative to Thonny.