Project 1: Table of Contents
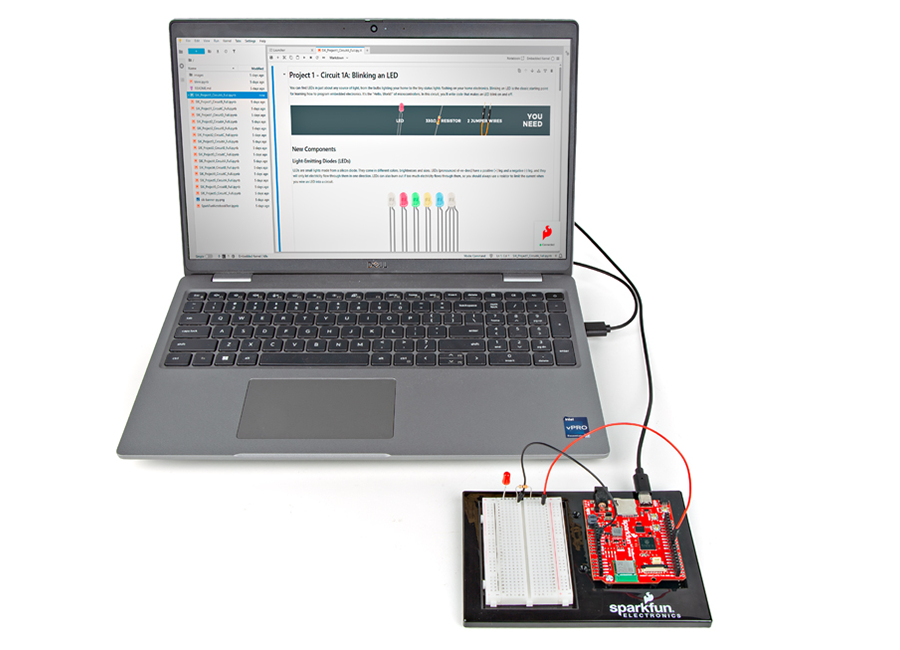
Circuit 1A: Blinking a LED
You can find LEDs in just about any source of light, from the bulbs lighting your home to the tiny status lights flashing on your home electronics. Blinking an LED is the classic starting point for learning how to program embedded electronics. It’s the “Hello, World!” of microcontrollers. In this circuit, you’ll write code that makes an LED blink on and off.
Circuit 1B: Potentiometers
Potentiometers (also known as “trimpots” or “knobs”) are one of the basic inputs for electronic devices. By tracking the position of the knob with your RedBoard, you can make volume controls, speed controls, angle sensors and a ton of other useful inputs for your projects. In this circuit, you’ll use a potentiometer as an input device to control the speed at which your LED blinks.

Circuit 1C: Photoresistor
Continuing on circuit 1B, where a potentiometer, which varies resistance based on the twisting of a knob. In this circuit, you’ll be using a photoresistor, which changes resistance based on how much light the sensor receives. Using this sensor you can make a simple night-light that turns on when the room gets dark and turns off when it is bright.

Circuit 1D: RGB Night-Light
In this circuit, you’ll take the night-light concept to the next level by adding an RGB LED, which is three differently colored Light-Emitting Diodes (LEDs) built into one component. RGB stands for Red, Green and Blue, and these three colors can be combined to create any color of the rainbow!